Attaching OSB (Oriented Strand Board) to a wooden frame is a crucial skill for many construction and DIY projects. As an OSB supplier, I've had the opportunity to see firsthand how well - made OSB products perform when properly installed. In this blog, I'll share detailed steps and tips on how to attach OSB to a wooden frame, ensuring a secure and long - lasting installation.
Understanding OSB
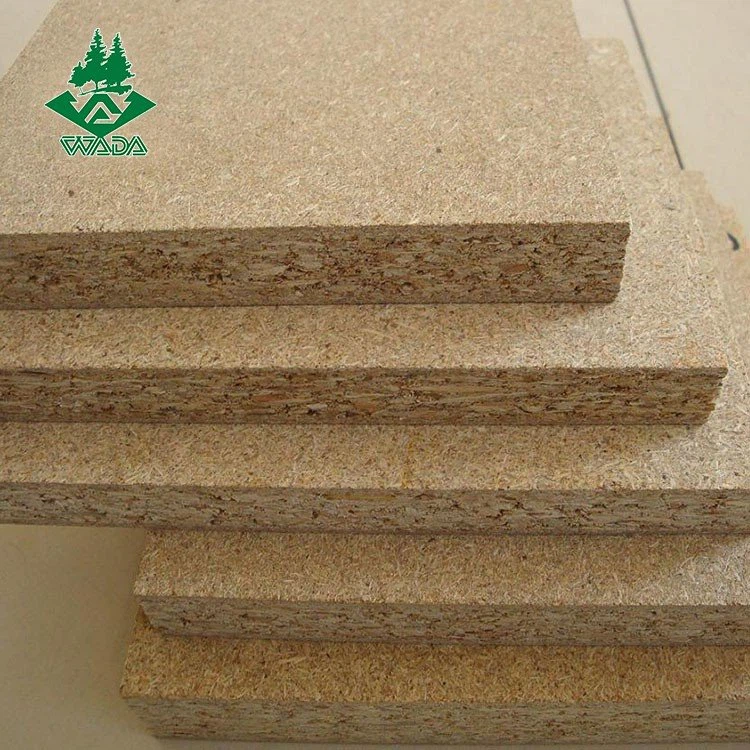
Before we delve into the attachment process, it's important to understand the different types of OSB available. At our supply, we offer a variety of OSB products, each designed for specific applications. For instance, OSB3 Roofing Boards are specifically engineered for roofing applications. They are moisture - resistant and can withstand the rigors of outdoor exposure. Meanwhile, 22mm OSB Board is a thick and sturdy option, suitable for heavy - duty applications such as flooring or structural partitioning. And OSB18mm offers a good balance between strength and cost - effectiveness, often used for wall sheathing.

Tools and Materials Needed
To attach OSB to a wooden frame, you'll need the following tools and materials:
Tools
- Circular saw or table saw: To cut the OSB to the appropriate size.
- Drill: For making holes and driving screws.
- Measuring tape: To ensure accurate measurements.
- Carpenter's square: To check for square cuts and angles.
- Hammer (optional): In case you choose to use nails instead of screws.
Materials
- OSB sheets: Select the appropriate type and thickness based on your project.
- Wood screws: At least 2 - 1/2 inches long for a secure hold.
- Construction adhesive: Adds extra strength and stability.
Preparing the Wooden Frame
The first step in the process is to prepare the wooden frame. Make sure the frame is clean and free of any debris or moisture. Inspect the frame for any signs of damage, such as cracks or rot. If there are any damaged pieces, replace them before proceeding with the OSB installation.
Measure the frame accurately to determine the size of the OSB sheets you'll need. It's always a good idea to cut the OSB slightly larger than the actual opening and then trim it to fit. This allows for some adjustment during the installation process.
Cutting the OSB
Using a circular saw or table saw, carefully cut the OSB sheets to the desired dimensions. Make sure to wear safety goggles and follow the manufacturer's instructions for the saw. When cutting, keep the blade sharp to ensure clean cuts.
Measure twice and cut once to avoid mistakes. Use a carpenter's square to ensure that the cuts are straight and at right angles. If you're making multiple cuts, mark the sheets clearly to avoid confusion.
Attaching the OSB to the Wooden Frame
Applying Construction Adhesive
Apply a generous bead of construction adhesive along the top edges of the wooden frame where the OSB will be attached. This adhesive helps to create a strong bond between the OSB and the frame and adds extra stability. Spread the adhesive evenly using a putty knife to ensure good coverage.
Positioning the OSB
Carefully lift the OSB sheet and place it on top of the wooden frame, aligning it with the edges and corners. Press the sheet firmly onto the adhesive to ensure good contact. If you're working with larger sheets, it may be helpful to have an assistant to help you position the sheet properly.
Securing with Screws
Once the OSB is in position, use a drill to drive wood screws through the OSB and into the wooden frame. Space the screws approximately 6 - 8 inches apart along the edges of the sheet and 12 inches apart in the field of the sheet. Make sure the screws are driven flush with the surface of the OSB to prevent any tripping hazards.
When driving the screws, start at the center of the sheet and work your way out to the edges. This helps to prevent the sheet from warping or buckling. If you're using a power drill, set the clutch to the appropriate setting to avoid overdriving the screws.
Finishing Touches
After all the screws are in place, inspect the installation for any gaps or unevenness. If there are any gaps between the OSB sheets, you can use a wood filler to fill them in. Sand the filled areas smooth to create a seamless finish.
If the OSB is going to be exposed to the elements, it's a good idea to apply a protective coating, such as paint or a weather - resistant sealant. This will help to extend the life of the OSB and protect it from moisture damage.
Tips for a Successful Installation
- Work in a Dry Environment: Moisture can cause the OSB to swell and warp, so it's best to install it in dry weather conditions.
- Use the Right Fasteners: Make sure to use the appropriate size and type of screws or nails for your application. Using the wrong fasteners can result in a weak installation.
- Check for Squareness: Throughout the installation process, use a carpenter's square to check that the OSB is square and aligned properly. This will ensure a professional - looking finish.
- Allow for Expansion: OSB can expand and contract with changes in temperature and humidity. Leave a small gap (about 1/8 inch) between the sheets to allow for this movement.
Conclusion
Attaching OSB to a wooden frame is a relatively straightforward process, but it does require careful planning and attention to detail. By following the steps outlined in this blog, you can ensure a secure and long - lasting installation.
If you're in need of high - quality OSB products for your next project, we're here to help. As an experienced OSB supplier, we offer a wide range of OSB options to meet your specific needs. Whether you're working on a small DIY project or a large commercial construction job, we have the right OSB for you. Contact us today to discuss your requirements and start your procurement process.
References
- "Building Construction Illustrated" by Francis D. K. Ching
- "OSB Installation Guide" by industry - recognized OSB manufacturers


